Thursday, November 13, 2014

Part2 Get a Pi

Get a Pi
Either a Model B or a Model B+
The Model B+ has better power management, and two more USB connections.  Both work well with Fldigi.
 
I got mine through Adafruit
https://www.adafruit.com/products/1914

Model B photo

Model B+ photo

You will also need a SD card


The one still in the package came from Radio Shack (on sale!) 
...or you can get a preloaded card
https://www.adafruit.com/products/1583

Power supply


This may be the easiest way to start.  This one, from the junk drawer, is from a mobile phone charger.


A way to access the internet
Either a WiFi dongle

Dongle photo

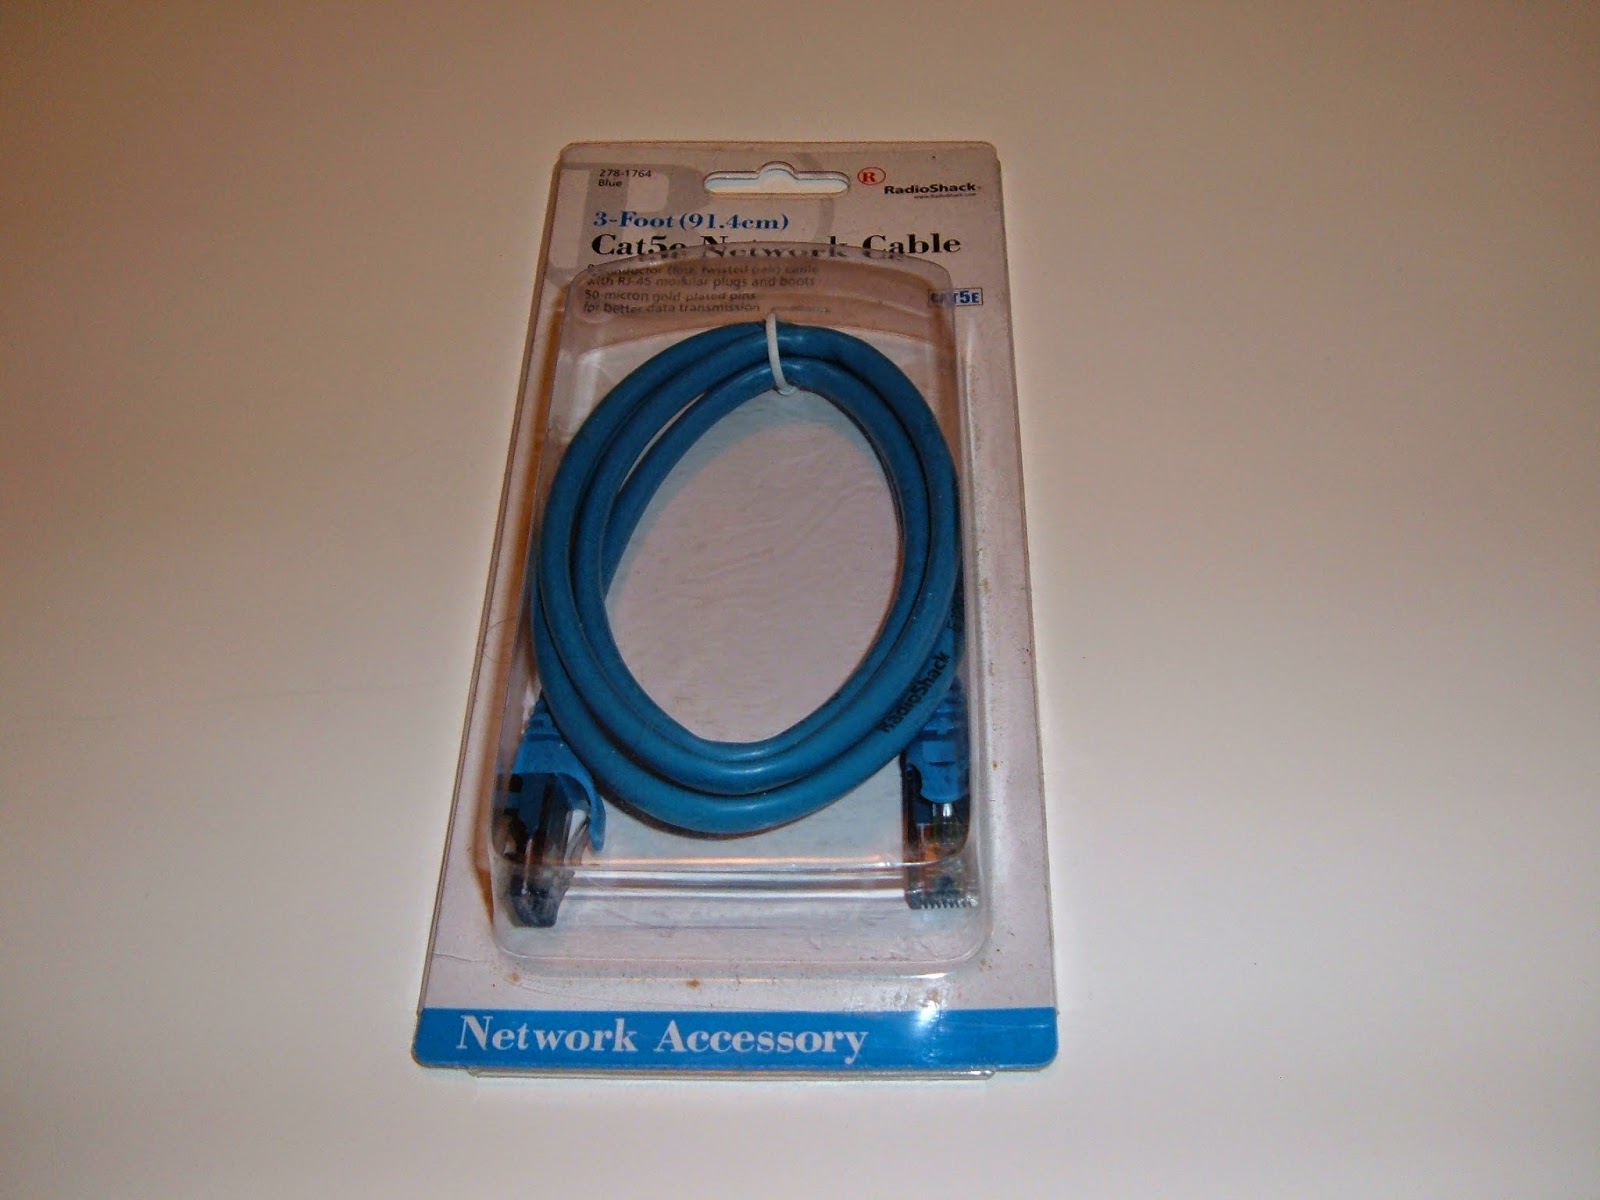
...Or a network cable.


Monitor or tele with an HDMI input.


Keyboard & mouse


Also from junk box

You will also need a computer or laptop with internet access, an SD card slot, and the programme
SD Formatter 4.0 fir SD/SDHC/SDXC
https://www.sdcard.org/downloads/formatter_4/
(Not necessary if you get the SD card with NOOBS.) 

Here is a nifty video from Geek Gurl on how to install NOOBS
 https://www.youtube.com/watch?v=TyFDaMpdh2c
note raspbian (debian for Pi) is the only Operating system available on NOOBS.
Not to worry it works great with Fldigi.

Here is a video that goes into more depth on the initial configuration
 https://www.youtube.com/watch?v=LmxUQaeRzIQ

Once you get the Pi configured:

Enter your user name and password (you should have changed those in the initial configuration)
Your Pi should now bring you to the Raspbian screen


Go into the LX terminal
and type
sudo apt-get update

That is going to take awhile.
When that is done reboot the Pi
sudo reboot

While still in the LX terminal
sudo apt-get upgrade
and the reboot


Now get and install Fldigi

From the LX terminal
type
sudo apt-get install fldigi
When complete, reboot.


Monday, November 10, 2014

Part1 Parts list

A Raspberry Pi can do a wonderful job with Fldigi and PSK31.
This Blog will, I hope, be of some small help with anyone who also tries to get on the air with Pi
 I will try to get to each step in turn with as much information as I can.


Parts list:
Raspberry Pi model B or B+
SD card ( model B) micro SD (B+)
Wifi dongle
HDMI monitor or TV with HDMI input
Keyboard
Mouse
Power supply
TNC
SSB transceiver
Antenna
Various cables

I have tried both a Model B and a Model B+, and they both decode and transmit with Fldigi just fine.
Rpi's are available from Adafruit.com

The SD card(s) are currently on sale at my local Radio Shack

I have used two different wifi dongles.  The smaller I got from Adafruit, the Netgear (larger) came from the junk box.  The Netgear receives a signal better.  I can only assume because the internal antenna is larger.

Any TV or monitor with a HDMI input will work, but my setup uses a Motorola Atrix lapdock.  My intention is to do some portable operations soon. The lapdock also combines a power supply, keyboard, & trackpad.

The power supply seems to be a sticking point for alot of people.  I have a WestMountain RIGrunner 4004U that I power the TNC with. I also have a homebrew battery powered USB supply, based on an Adafruit Minty Boost, that I will use for portable ops. (more on this later.)

My TNC is SignaLink USB. I got this from HRO.
Previously, I tried a WestMountain RIGblaster Advantage, but every unit I tried produced signal killing noise whenever the unit was powered whether via a USB on my computers, or via a battery.
The folks at HRO and WestMountain were absolutely wonderful with their customer service in trying to track down the cause of the noise but we all ran out of ideas.
Some folks have a problem with the S'Link and noise as well.  (more on this later)

The radio is a FT-897D.  (I can't say enough nice things about this cool rig.)

The antenna is a homemade EARCHI type multi band end fed.  

I will show how I modified some of the cables to help reduce noise, and help solve power issues.